Follow the steps below to setup OAuth and receive incoming messages in Salesforce.
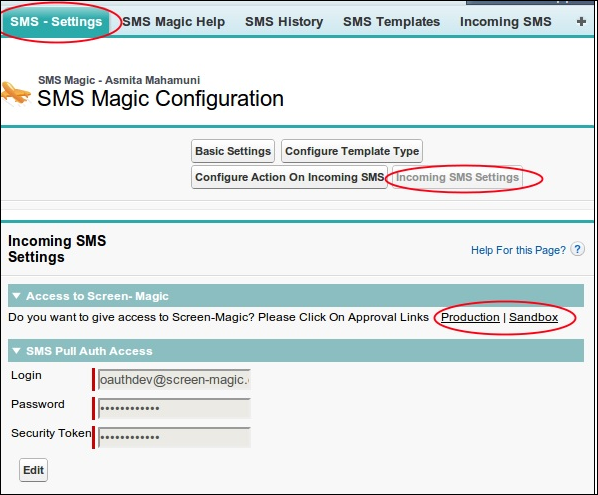
Step 1 – Click SMS Settings.
Step 2 – Click Incoming SMS Settings.
Step 3 – Click the Production Link/Sandbox Link.
NOTE: Click Production if you are logged in to your production organization; click Sandbox if you are logged in to your sandbox organization. |
After you click on the Production/Sandbox Link, you will encounter one of two scenarios:
•Scenario 1 - You will be redirected to another page asking for access permissions for third party website with a button saying “Allow”.
•Scenario 2 - You will be redirected to a new page which would turn out to be BLANK.
Read the section below that matches your scenario.
Scenario 1
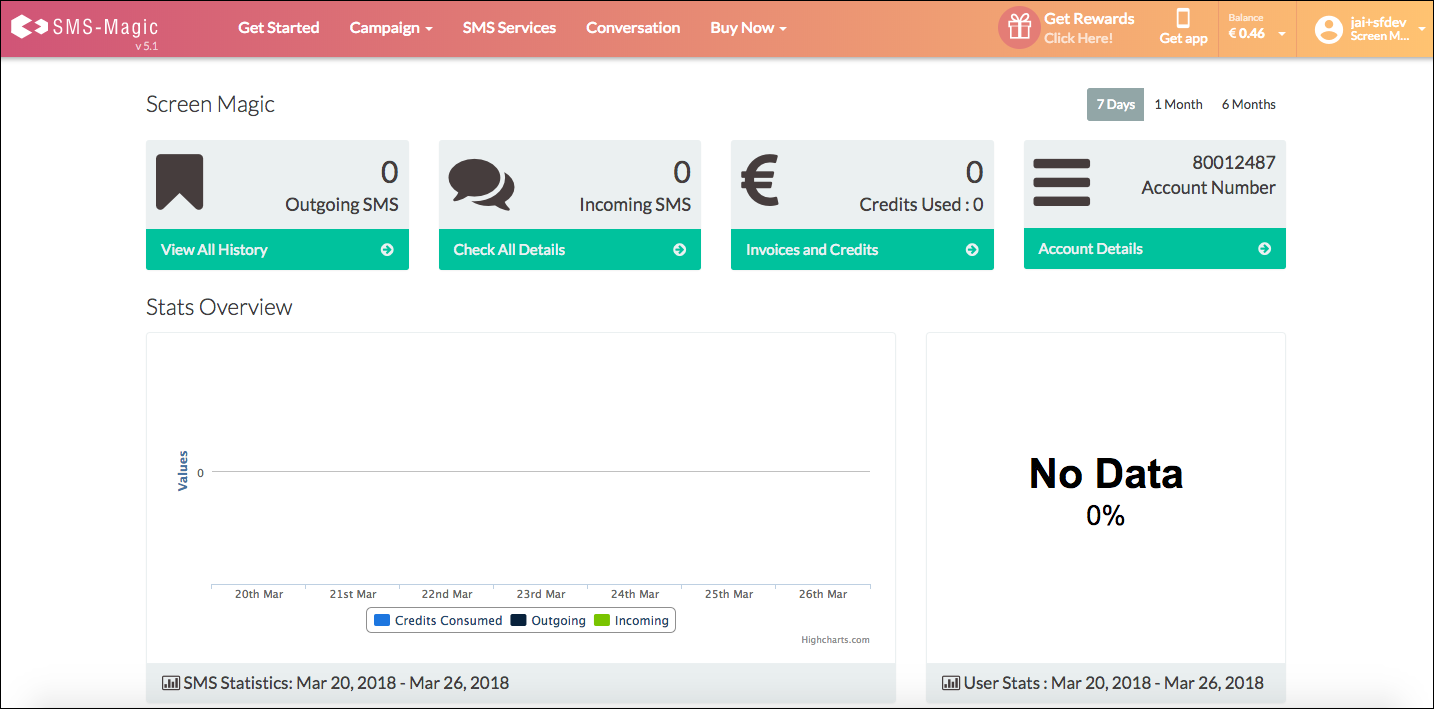
The tab that opens contains access permissions to third party websites (the customer portal). Click the ALLOW button to redirect to the customer portal, which will be similar to the figure below.
Next, click on the admin name which is located on the top right corner, and then click App Config in the
drop-down menu.
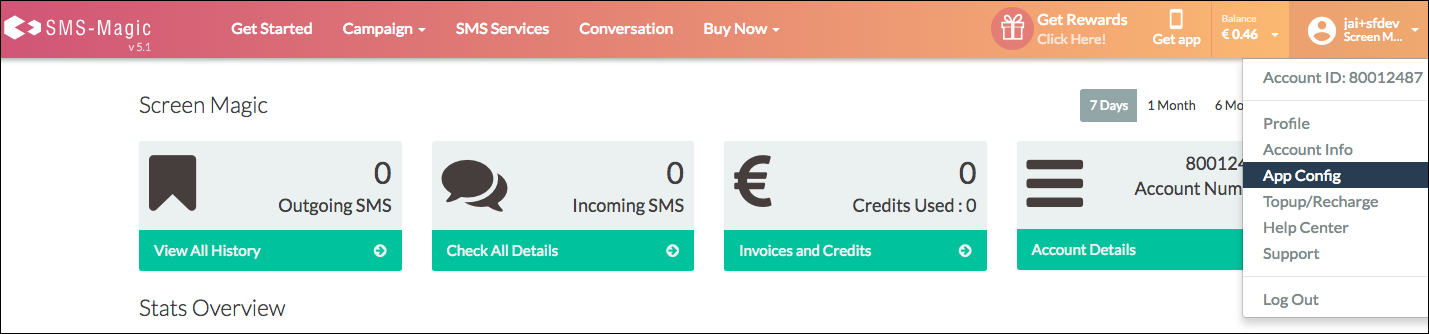
On the next page, verify that there is a notification OAuth Access is enabled.
If you can see this notification, then you are done with the settings. You will now receive incoming messages too!
Scenario 2
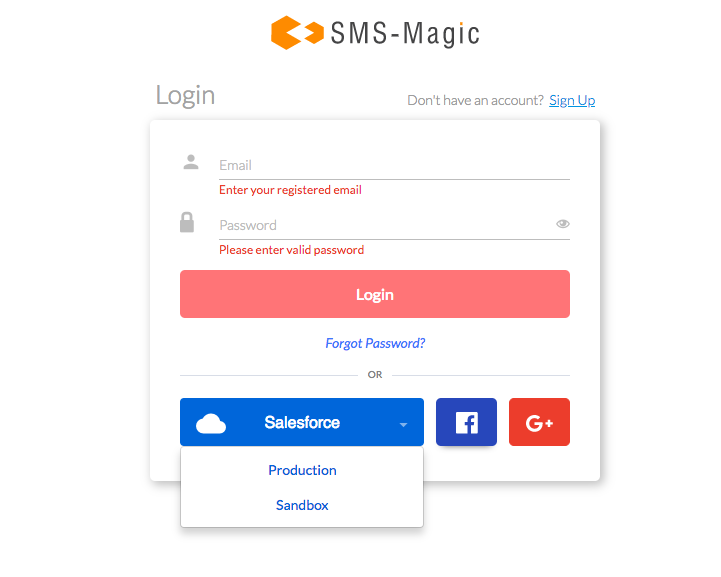
If a blank page appears, close this blank page, open a new tab in your browser and enter https://app.sms-magic.com
Production users: click Salesforce > Production
Sandbox users: click Salesforce > Sandbox
You will be now logged into your customer portal.
Go back to your previous browser tab and click the Production/Sandbox link again. A new tab will open in your browser with your customer portal logged in.
Go up to the Scenario 1 section above and follow the instructions there.